May 6, 2025 by Toyin A.
Flutter: Dependency injection using riverpod code generation
This short tutorial post is an adaptation of this article so please check that out for the original content
The steps followed are almost identical with the only major difference being that in this article I will describe the steps using riverpod code generation (i.e. using the @riverpod annotation) rather than manually creating providers.
What Is dependency Injection
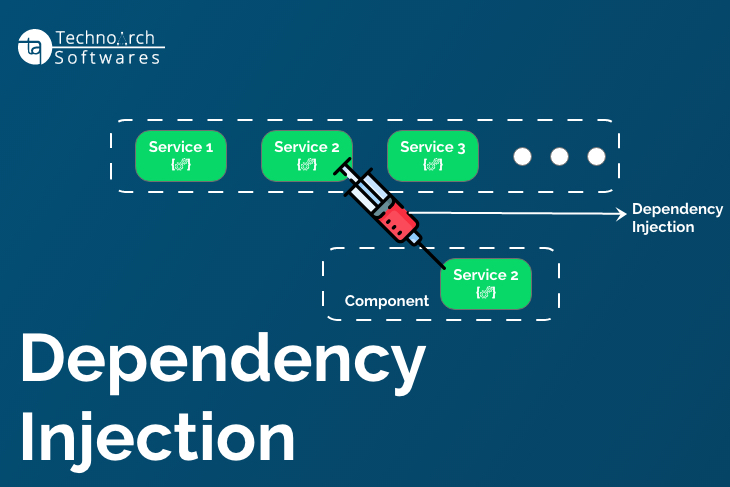
To provide context, Dependency injection essentially just means that rather than creating objects within your class that the class depends upon, they are passed into your class externally. In essence, instead of a class needing to know how to create or find the objects it uses (its dependencies), it’s provided with those dependencies by an external entity. This has the benefit of achieving loose coupling and therefore making your code more maintainable, testable and modular.
Steps
To set up Riverpod with code generation for DI, just follow the below steps:
1. Add this to your pubspec.yaml
depeendencies:
	firebase_auth: ^5.5.1
  flutter_riverpod: ^2.6.1
  riverpod_annotation: ^2.6.1

dev_dependencies:
  riverpod_generator: ^2.6.5
  build_runner: ^2.4.15
2. Wrap your app with ProviderScope
void main() {
  runApp(
    ProviderScope(
      child: MyApp(), // Enables DI everywhere
    ),
  );
}
3. Create a Firebase Auth Provider using build runner and code generation
In your terminal, run the build runner using the command: dart run build_runner watch -d
import 'package:firebase_auth/firebase_auth.dart';
import 'package:riverpod_annotation/riverpod_annotation.dart';

part 'firebase_auth_service.g.dart';

@riverpod
class FirebaseAuthService extends _$FirebaseAuthService {

  @override
  FirebaseAuth build() {
    return FirebaseAuth.instance;
  }

  Future<User?> signIn(String email, String password) async {
    return (await state.signInWithEmailAndPassword(email: email, password: password)).user;
  }
}
- Now
FirebaseAuthServiceis injectable, which gives us access to a single instance of FirebaseAuth, initialised through the build method. - The built-in
statefrom_$FirebaseAuthServicegives you the initialisedFirebaseAuthinstance from which we can then call whatever function we want.
And now we can use FirebaseAuthService anywhere in the app without creating new instances of it.
4. Inject FirebaseAuthService in a widget
import 'package:flutter/material.dart';
import 'package:flutter_riverpod/flutter_riverpod.dart';
import 'firebase_auth_service.dart'; // Import your service - this also brings the provider

class LoginScreen extends ConsumerWidget {
  @override
  Widget build(BuildContext context, WidgetRef ref) {
    final authService = ref.read(firebaseAuthServiceProvider.notifier); // Get injected service 🎯

    return Scaffold(
      body: Center(
        child: ElevatedButton(
          onPressed: () async {
            await authService.signIn("test@example.com", "password123");
          },
          child: Text("Login"),
        ),
      ),
    );
  }
}
And there we are. By simply watching the provider.notifer, we have access to the instance and therefore all of its functions. This avoid tight coupling and any messy dependencies.
I hope this is helpful.
Peace and Blessing
Toyin

